
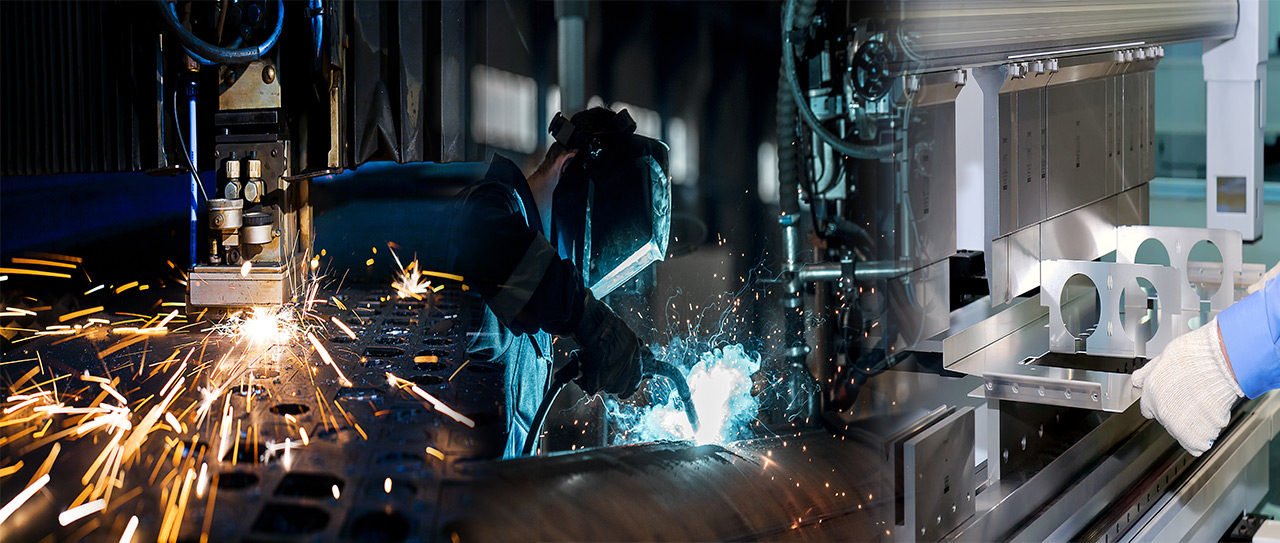
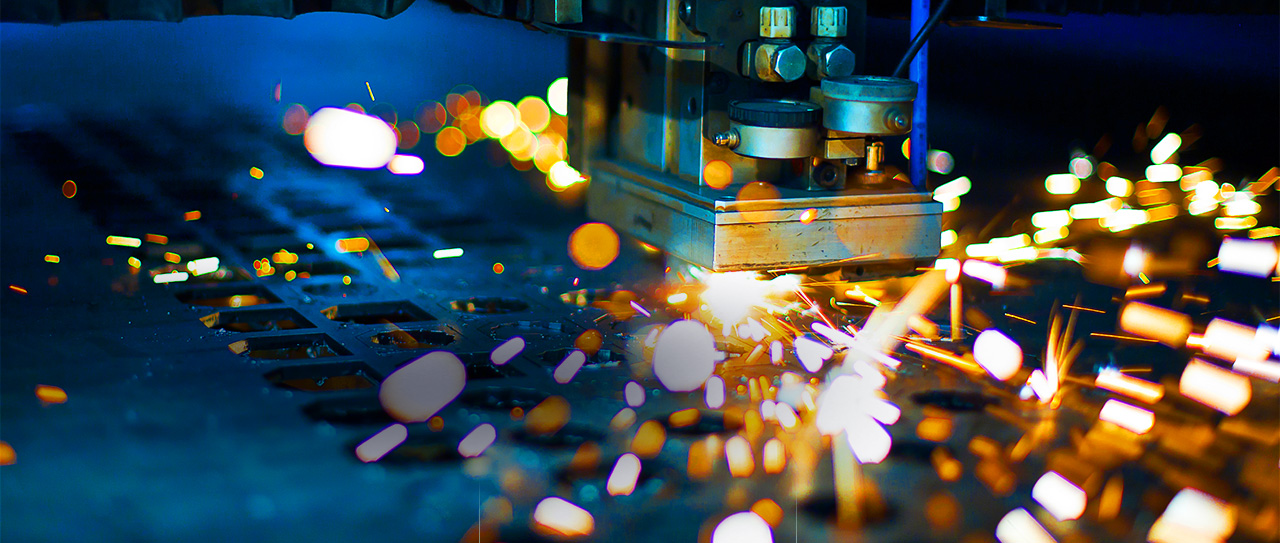
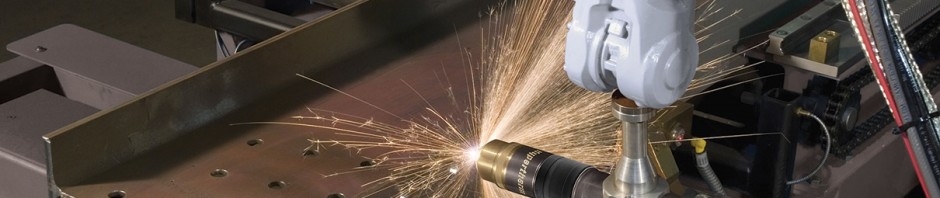
There’s no denying the fact that designing a mechanical product isn’t as easy as it seems. Engineers and designer would know it better because they do it for a living. Most of the time they need to push their limits to ensure that the product they are designing is economical and efficient at whatever it is supposed to do. In FMB, laser cutting is ruling over metal integrity without raising any questionable eyebrows in case of profit. Laser cutting is usually the first step of the process before it continues down the line to undergo metal bending, metal rolling, and other types of metal fabrication in stainless steel, mild steel and aluminium.
But sometimes even the out-of-the-box thinkers find themselves in a place where they don’t really know what or how to get their designed product to perform better.
And if they are thinking about proceeding with their uneconomical porotype, they will be fooling themselves only. There is no way a company can rule the industry without making their products “The Best”. But if you are thinking that a good design may cause additional production cost, you will be happy to know that you are wrong.
However, if you are not yet convinced that designing is a key factor to the product’s success, you need some serious re-thinking to do. But if you are onboard with the fact that nothing can compensate a faulty designed product, here are some tips that might make you efficient at designing metal products. But for the sake of simplicity, let’s divide the whole designing process into 2 stages.
Stage 1: The thought for product’s design
Stage 2: Actual digital design of the metal product
On the first stage, the engineer had to think of the general structure of the metal product. How to make it sturdy, how to control the rigidity, how the general structure can enhance the product’s performance, what type of metal will be suitable for, etc. are included in this stage.
Then comes actual designing part in a computer. This stage includes finding out the exact details for the product and then putting it on the PC for visual reference to the actual product.
First Stage:
Tip no 1: Understand the physics.
In this stage, engineers or designers need to pay full attention to physics. I mean, they need to figure out how the product should look like after suppressing the universal forces and obstacles.
For example, if you need to design a metal wing for an aircraft, you need to make sure that you know what kind of natural forces can become an obstacle for the wing. One of the biggest problems with an aircraft wing will be having to face the air flow. The wing designer will have to figure out a way to make the craft flying with the wings even in strong winds. So the wings will need some curves and bend. And here rise other questions. What kind of curves do you need on the wing and where do you need, etc. This kind of questions is completely physics related.
Although the product you are going to design may not be compatible with these question, you’ll always find Physics making it harder one way or another. Perhaps the angles or the twists on your design, but you’ll have to come across the physics and get the answers yourself.
You also need to be quick on solving the obstacle that your metal product might face. So, know the motion, know the forces. Know what you can do to get out of the obstacle. Once you find the answers to these questions, you’ll have an efficient structure in your mind for further detailing and processing.
Tip no 2: Draw it out.
I know that eventually you will need to design it using AutoCAD on your PC. But before that, it’s always better to sketch it out. If you are familiar with the product’s application, you’ll surely find some flaws in the basic design.
Tip no 3: Fix the flaws.
Once you find out the flaws in the primary draft of the product’s design, it’s time to get working on throwing out the flaws. Your basic design might not be accurate for the very first time you cross check but it’ll get better each time you pay a close attention to the details. So don’t freak out if you have to go through the draft product design 4-5 times. It’s okay.
Tip no 4: For the metal, look for something economical and efficient.
Although choosing the metal is not a part of the actual designing, the entire process of designing is correlated with the material in use. So it’s worth mentioning.
Almost everyone thinks of mild steel when it comes to picking a metal for manufacturing. It is because they are cheaper and available everywhere. But one thing that we should remember is having a quality material for any product to make the design work. Only making the product economical and inexpensive will do no good if the product itself is not the best out of your factory. Its efficiency is as important as making it affordable.
But it’s not easy to decide which metal will be the best choice for your final production. Besides, choosing the right metal can be technical. You need to know the tensile strength, Young’s modulus, and many other values related to the properties of that matter. Sometimes even the applications of that metal product may give you the answer for what metal should be used.
Second Stage: Designing digitally
Once you are done with the first stage, you will have a draft on paper that you would like to form into a 3D CAD file.
Tip no 1: Make sure you get the numbers right.
If you want to get your product done by the machine, you’ll need your 3D CAD file convert into machine code. That means you will get exactly what you put into the 3D CAD file. That’s why the draft should be accurate.
Use the numbers that you found by calculating for dimension, curve angle, bend, hole, etc. properly in the file. If you want, you can cross check the number just to be sure.
Tip no 2: Make the curves and bend smooth.
Depending on its use, your product may one or many bends and curve. For any metal product, it is important that the curvatures are smooth and nicely done. Also, using the angles in their places is important too. It’s up to the designer to make the curves as clean and smooth as possible. Remember uneven curvatures are bad for product design because if the curves are not smooth, the metal won’t look or work as good as you would have expected.
Tip no 3: Keep the holes and edges smooth.
It’s the same as having smooth curves. Only it’s much more important than the curves. Usually, the edges are the functioning part of anything. That’s why uneven edges are metal products’ worst enemy. Make sure you don’t have any.
Tip no 4: Know what’s wrong
Clearly, it’s not possible to get the design you wanted on the very first try. You should check as many times as possible for flaws in your design. Once you find them, work on them to solve the issue. Remember, even the tiniest details can hamper the efficiency of the metal product.
The bottom line
Designing a metal product is not everyone’s cup of tea. It requires precision and details to work it out and if you pay heed to the tips given above, you’ll definitely notice how good you are getting at your job. So, don’t be ashamed to admit to your design’s flaws. Work on the flaws and practice a lot, you’ll get better results for sure.

